how to remove ring doorbell cover to charge
Tips to Troubleshoot the Process Dont Wait for Your Ring to Die Before Charging. The new Ring 2 2020 doorbell has been modified and does NOT have a removable battery either.
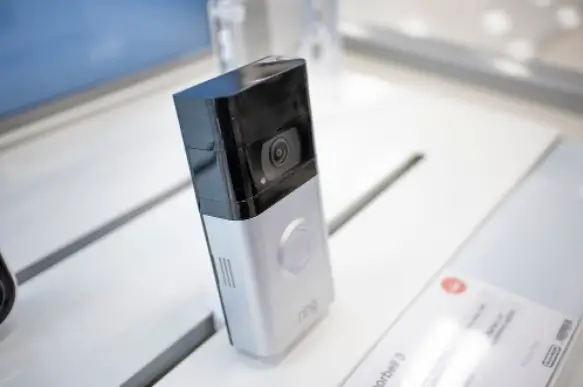
How To Remove A Ring Doorbell Digital Trends
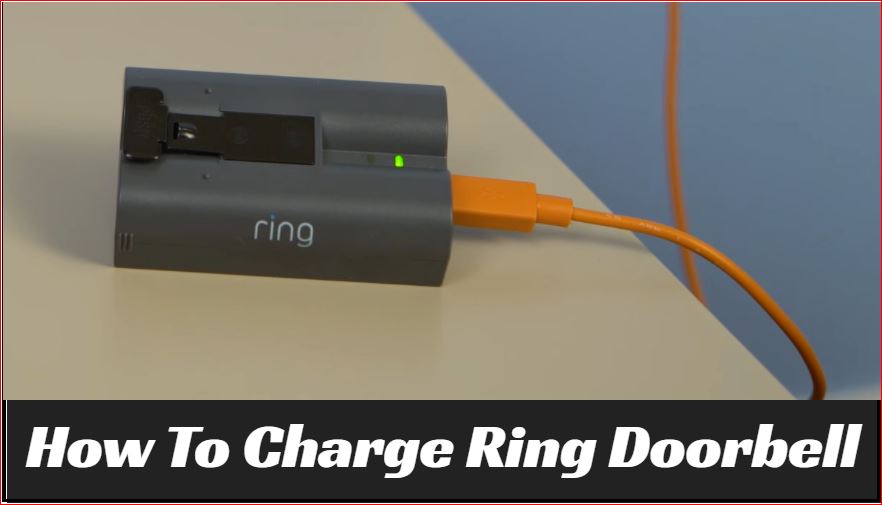
Your ring doorbell will begin charging immediately.
. If a screw got stripped on your doorbell then you can remove it by typing a rubber band around the screw and using steel wool to hopefully pull it out. How to Remove Ring Doorbells Battery Using the Ring screwdriver remove the screw at the bottom of the cover. There will be a click when the battery is secure.
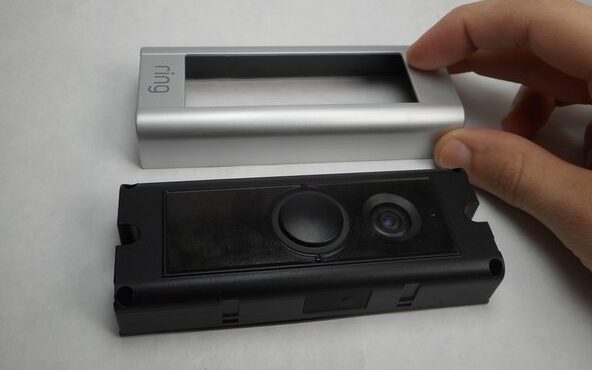
It can be a bit tricky to remove the Cover of the Ring 2 Doorbell. How to open or remove the Ring Doorbell cover. This will reset the battery percentage in the Ring App.
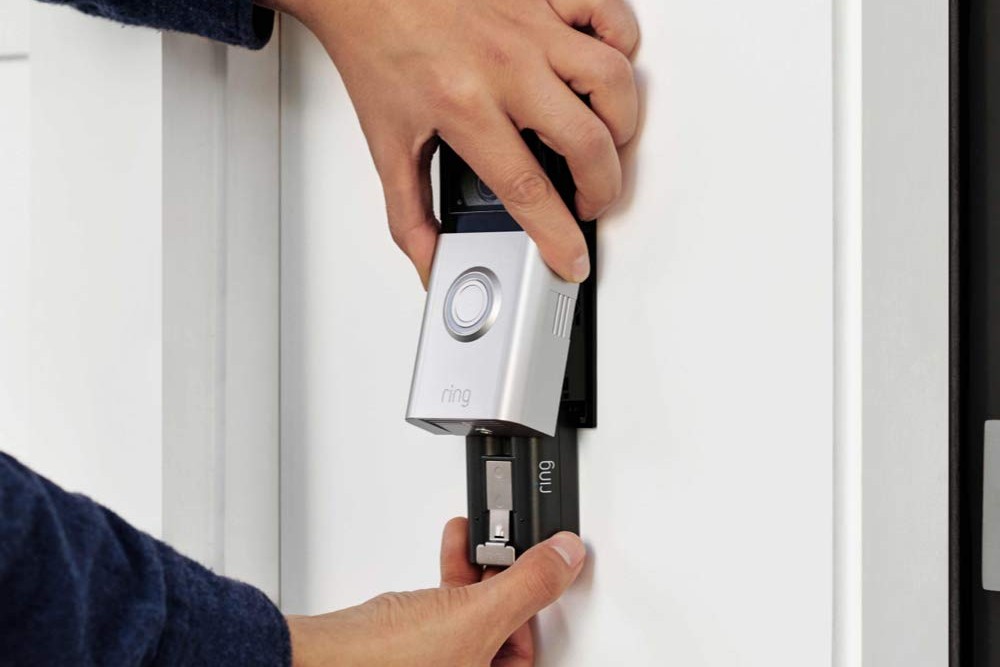
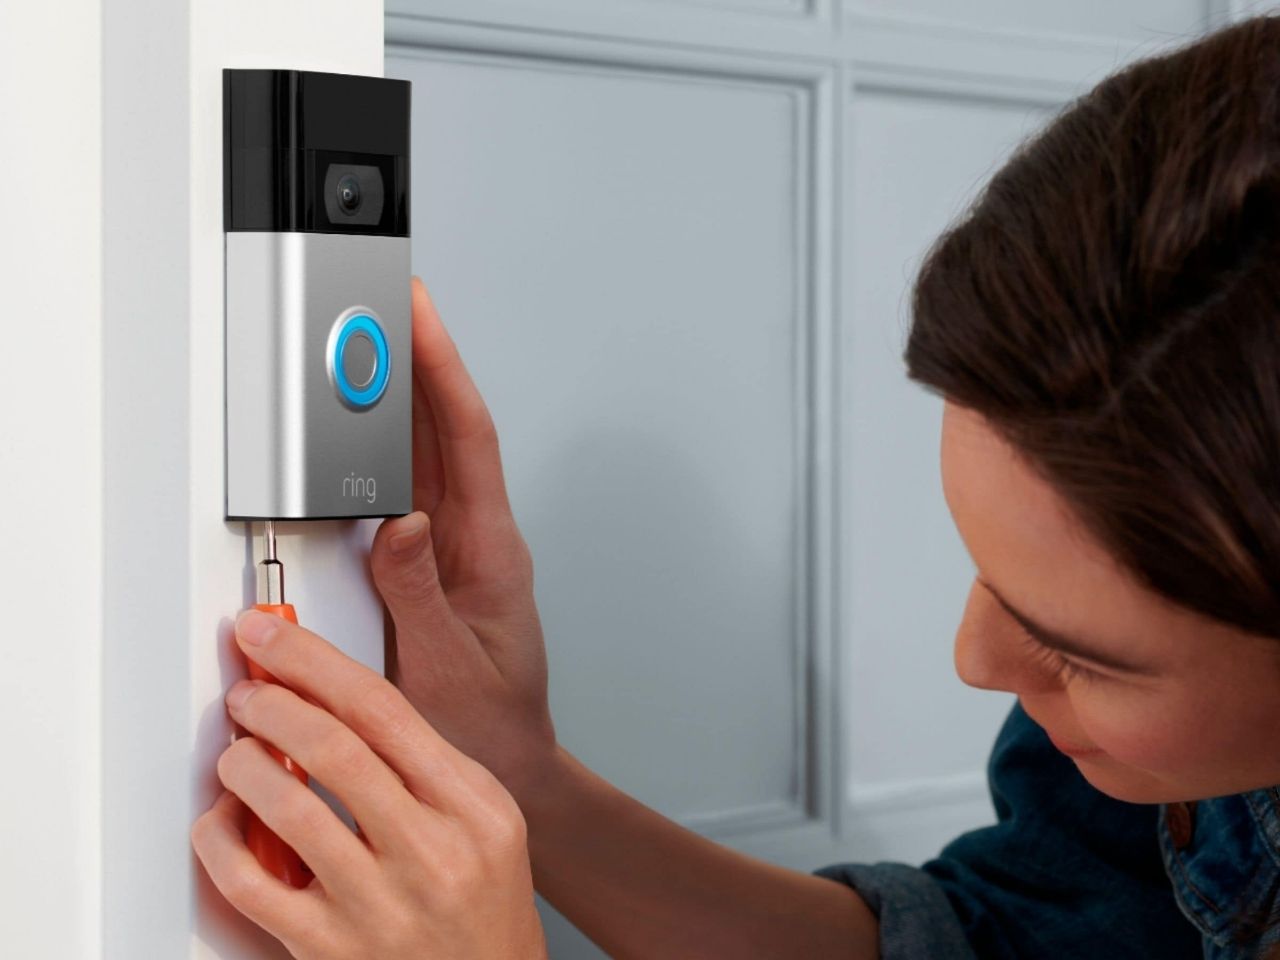
The Ring doorbell can be removed quite easily from the bracket by loosening the screws on the bottom of the doorbell and then lifting the doorbell up and away from the bracket. Connect any micro-USB charger to the batterys charging connector. Remove the security screw from the doorbells base and remove the faceplate away from the wall.
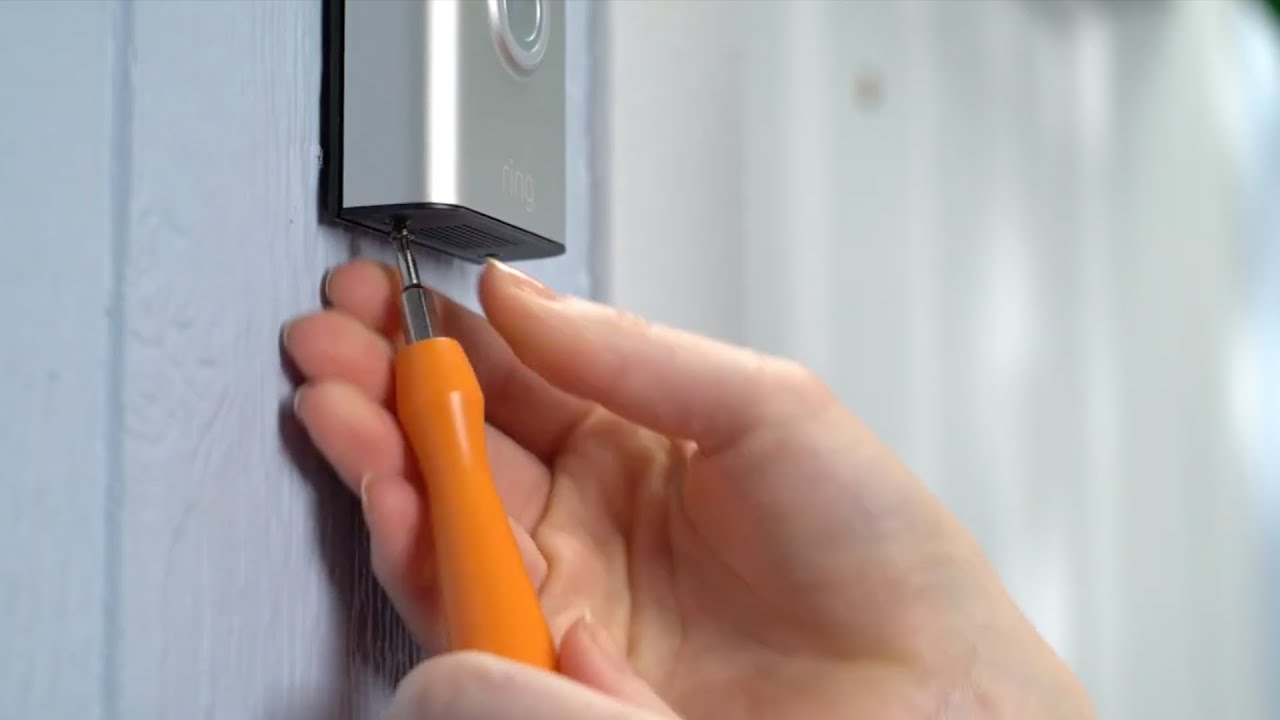
Use the Ring Screwdriver or a 6 point star head screwdriver to unscrew the two screws at the bottom of the doorbell. This way you can replace the stock mount or add in a new adjustable bracket. Use the included screwdriver to unscrew the two security screws at the bottom of the ring doorbell.
Press the release tab to remove the battery. If you try to remove the cover without removing this screw. Once you reinstall the doorbell or the battery give your doorbell a test ring.
Using metals tools to remove the doorbell. Turn the screwdriver gently to remove the screw. Dont forget to add a few drops of silicone or filler into the holes so you dont get bugs or leaks.
Turn the screw counterclockwise and set the. Simply remove those screws and the doorbell will come right off. Slide the fully charged battery back into your Ring Video Doorbell.
By removing the cover you can access the battery of. They still call it a Ring 2 but they added 2020 very subtlyand thats why it is cheaper. Once you reinstall the doorbell or the battery give your doorbell a test ring.
How to remove charge and insert your Ring doorbell battery. Reattach the faceplate to the Ring Video Doorbell and secure it with the security screw. Slide your thumbs under the base of the faceplate.
Youll have a couple more months worth of reliable Ring Doorbell performance ahead of you again. How to remove ring doorbell to charge. Pull the doorbell up and out of the bracket.
That is all that you need to do and ideally you wont have to use any force. First take out the faceplate of the Ring doorbell using the instructions provided in the previous guide. Push the faceplate off with your thumbs or pry it free.
Sneaky bait and switch marketing. This will reset the battery percentage in the Ring app. You have to unwire it and remove it completely to charge the battery.
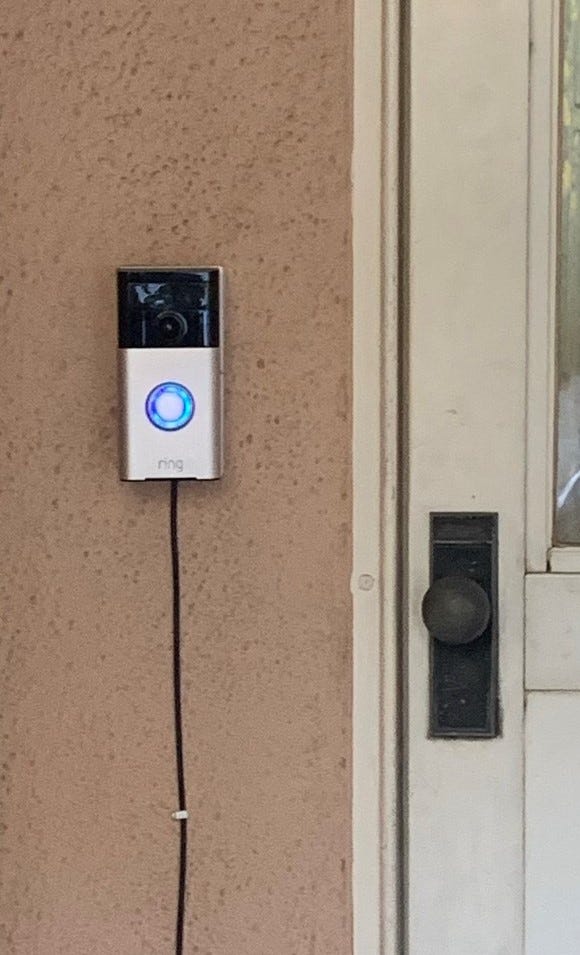
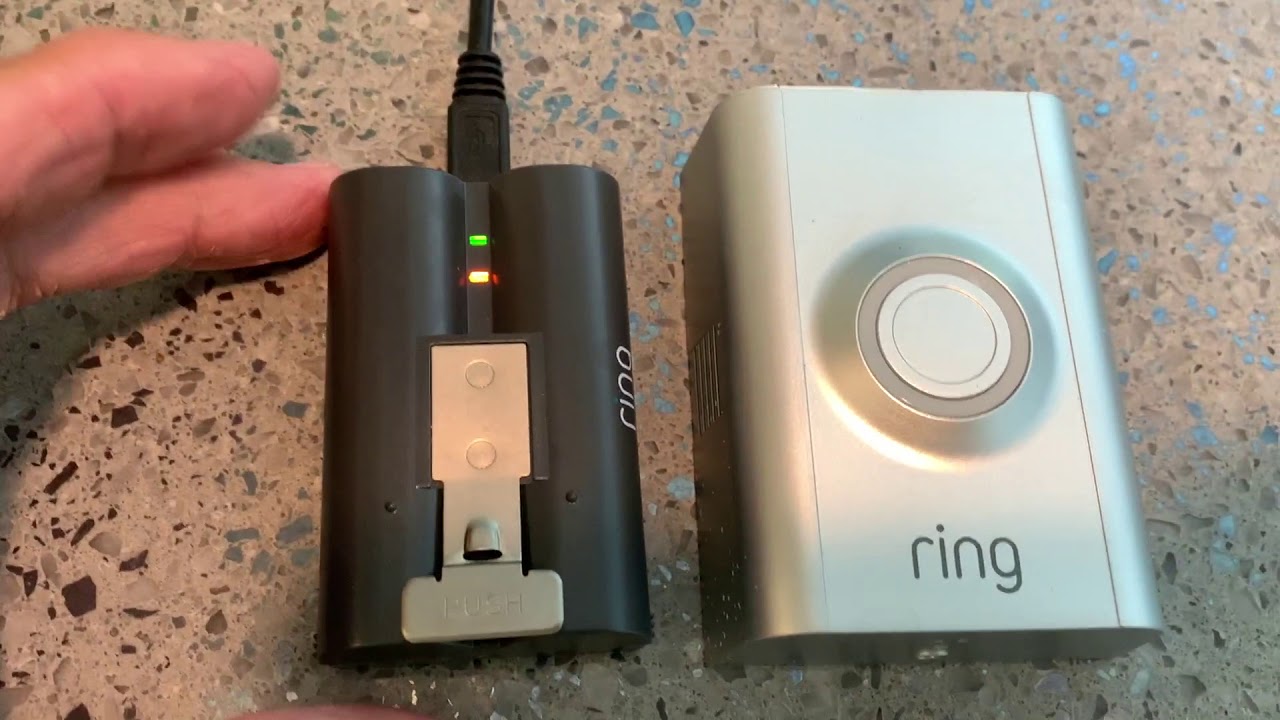
To remove the ring doorbell from the wall put your fingers on one side of the doorbell and grip with your thumb on the other. When the light on the battery becomes solid green your battery is completely charged. You may need the doorbell screwdriver that came in the box with your doorbell to remove the security screw that holds the cover faceplate in place.
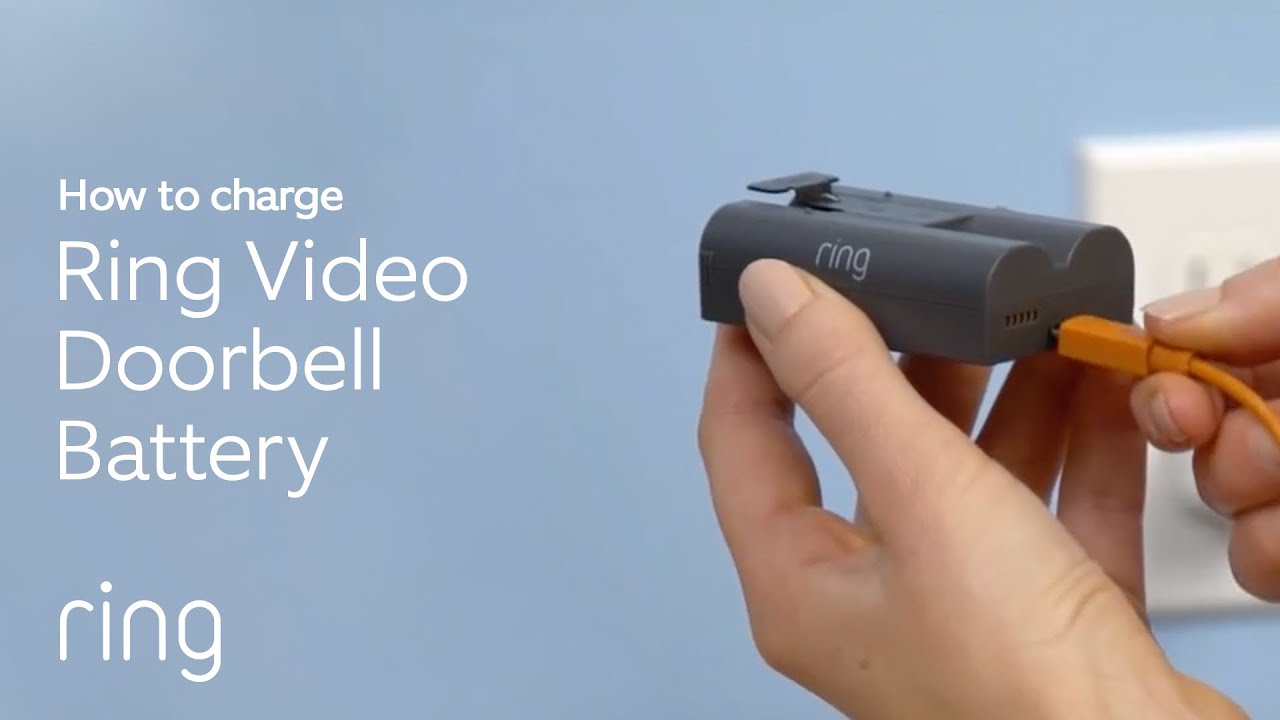
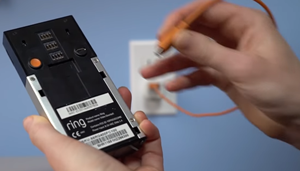
If you have a wireless model you can easily take out the doorbell from its mounting bracket. Then plug the other end of the cable into a USB power source such as a computer or phone charger. Take your Ring Doorbell battery off the charger snap it back into position mount the faceplate and then reattach the bottom plate with the provided screws.
Charge the battery and then put it back into the doorbell. There is a specific screw you are supposed to use with the faceplate and others can damage it. Therefore you need a Ring made security screw driver to remove this screw so you may need to b uy an order of the spare parts for the Ring Pro here if you cannot find this screw driver.
How To Remove A Ring Doorbell. If you plan to install the faceplate on this or another Ring Doorbell keep track of the screw. Reattach the faceplate to the Ring Doorbell and secure it with the security screw.
If not lets skip to the next step. There will be a click when the battery is secure. The screw that is at the bottom is the special security screw that we designed to help prevent anyone from taking this.
How to remove charge and insert your Ring doorbell battery. To charge your ring doorbell simply remove the battery cover and insert the charging cable into the charging port. Slide the fully charged battery back into your Ring Doorbell.
If you got a new Ring doorbell then you are proably wondering what you can do about this situation and what it means about your doorbell. There are a couple of ways to quieten a wireless doorbell effectively.
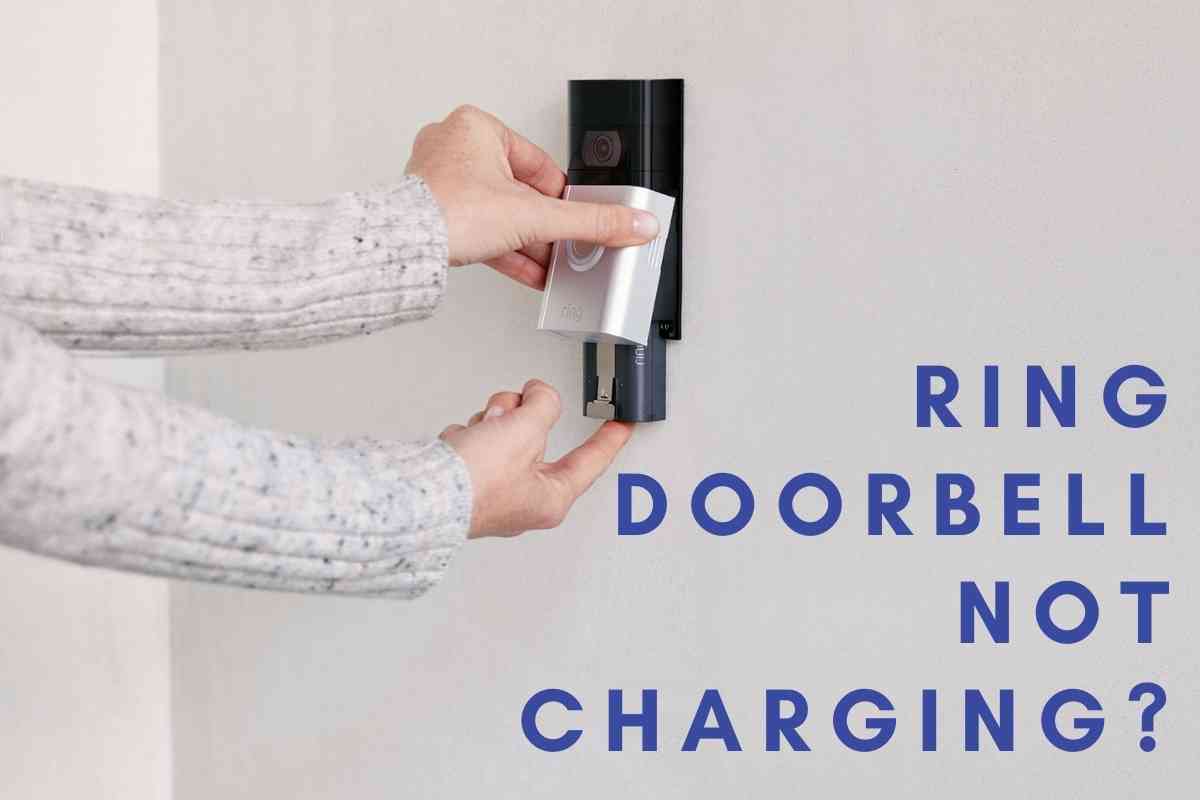
Ring Doorbell Not Charging Easy Fix The Gadget Buyer Tech Advice
How To Charge Your Ring Video Doorbell 2 Battery Simple Ring Youtube

Why Your Ring Battery Is Dead After Charging Or Hardwiring It Smart Home Point

How To Charge Ring Video Doorbell 3 Or 3 Plus Youtube
How To Charge Ring Doorbell Complete Guide
How To Turn Off Ring Doorbell While Charging
Ring Doorbell Not Charging 7 Easy Troubleshooting Guide Smily Homes
Easy Hack How To Stop Having To Re Charge Your Ring Doorbell By Wendy Snyder Wendyswriting Medium
How To Remove Charge And Insert Your Ring Doorbell Battery Youtube

Charging The Battery For Your Ring Video Doorbell 4 Ring Help
Why Doesn T Ring Doorbell Charge 10 Easy Fixes

Which Ring Doorbell Should I Buy Which

How To Charge Your Ring Doorbell When The Battery Gets Low
Ring Doorbell Not Charging 7 Easy Troubleshooting Guide Smily Homes

Simple Ways To Charge A Ring Doorbell With Pictures Wikihow
How To Remove A Ring Doorbell Digital Trends
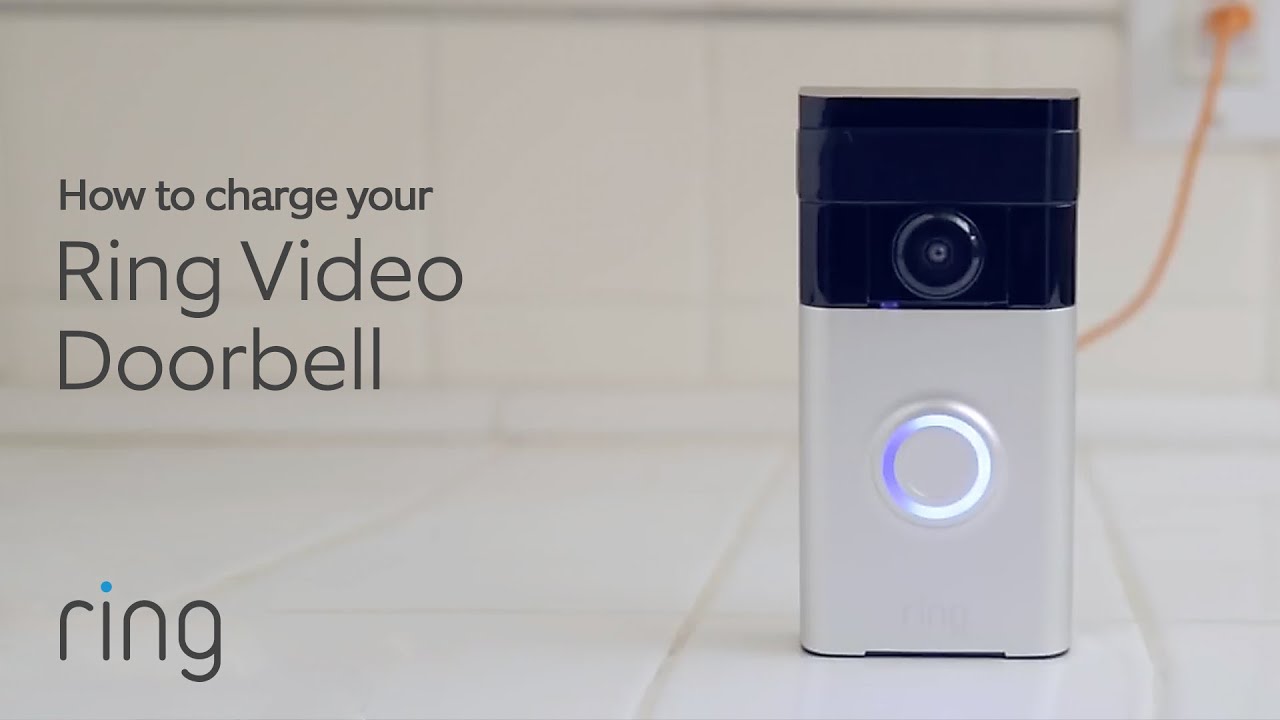
How To Charge Your Ring Video Doorbell Ring Youtube

Simple Ways To Charge A Ring Doorbell With Pictures Wikihow

3 Ways To Fix Ring Doorbell Flashing Blue While Charging Diy Smart Home Hub